How To Paint a Boat
Whether you're maintaining the topsides of a wooden classic or covering up old, faded gelcoat, the same prep and painting techniques apply.
Boats lead a rugged life, even if they don’t go out that much. They bake in the sun, get soaked by the rain (often polluted rain), get frozen and thawed, chafe for months at a time against docks and fenders, get pulled up on trailers and beaches, hit rocks and logs and all sorts of other hard objects, and float in a watery zoo of plants and animals that want very much to attach themselves to the boats’ bottoms and go along for the ride. The paint on your boat is an important line of defense against all these things.
Repainting your topsides is a big project, but at least it will give you a palette of colors. Photo by Doug Logan.
Most recreational boats today are made of fiberglass with a shiny gelcoat outer surface. The second they leave the shelter of their builders’ yards, the attack on the gelcoat begins. Unless a boat is kept in an enclosed, shaded, temperature-controlled structure and rarely let out to play, that attack never lets up. An owner who’s diligent with freshwater rinses, rubbing compound, and good paste wax can keep a gelcoat looking good for years. But eventually, nature will win and the boat’s exterior will need to be given a facelift, either with a single- or two-part marine paint, or with a coating system like Awlgrip, Awlcraft 2000, or Dupont’s Imron. These coating systems have to be sprayed on in a controlled indoor setting and are typically best left to professionals.
Basics of How to Paint a Boat:
- Set up in a well-ventilated work space.
- Repair and fair any dings or gouges in the hull or deck.
- Sand carefully and remove all dust.
- Apply primer, if necessary, and resand.
- Apply the finish paint with a partner, using roller and brush.
- Let each coat dry completely before lightly sanding for the next, laying on a minimum of two coats.
- Protect yourself and the environment.
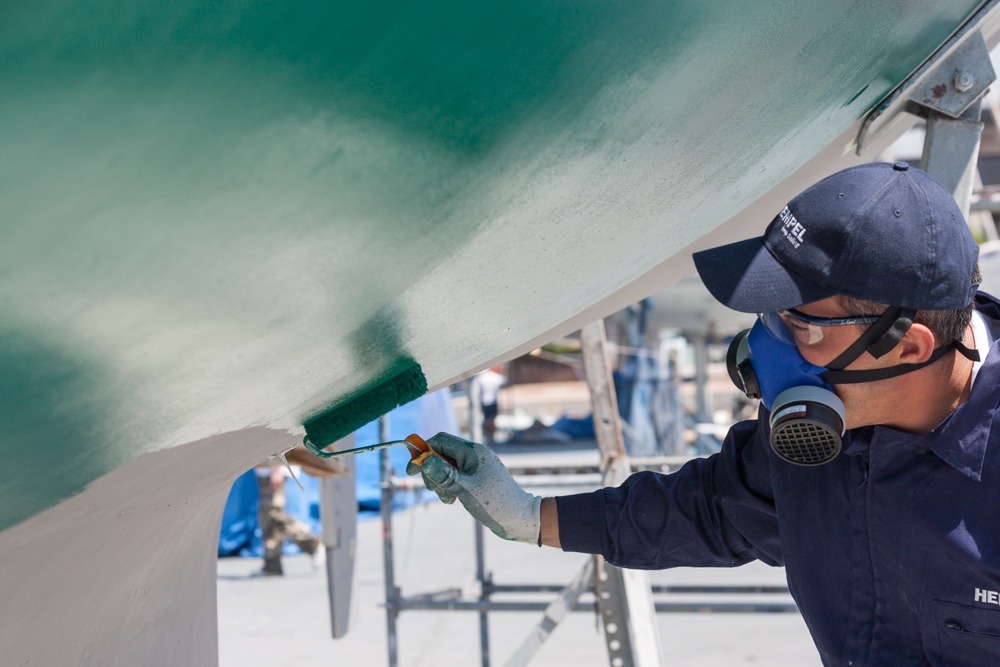
A smooth application of bottom paint helps boat performance. Photo by Diego Yriarte.
In this guide, we’re going to stick to marine paints that can be used by a reasonably handy boat owner, and that can be laid on with a brush or with a combination of roller and brush (bearing in mind that most of these paints can also be sprayed on). We’ll touch on the basics of what’s involved in painting each of the three main exterior areas on a boat—the topsides, the deck, and the bottom—and give you links to articles, videos, and other sources that cover more of the specifics. For more in-depth information, it’s worth visiting the help files of the major paint makers. Interlux, for example, provides an excellent Boat Paint Guide. Although it specifies only Interlux products, there’s plenty of information in the guide that applies across the board (it’s also available as a smartphone app). Most of these tips apply not only to fiberglass boats but to wooden and even metal boats whose paint is in good condition. Paints and coating systems made for boats are engineered specifically for the marine environment. They’re more resistant to abuse and UV damage than land-based exterior paints, and they’ll keep their shine longer. They are also, without doubt, more expensive than paints you can find in your hardware store. In this case, you get what you pay for.
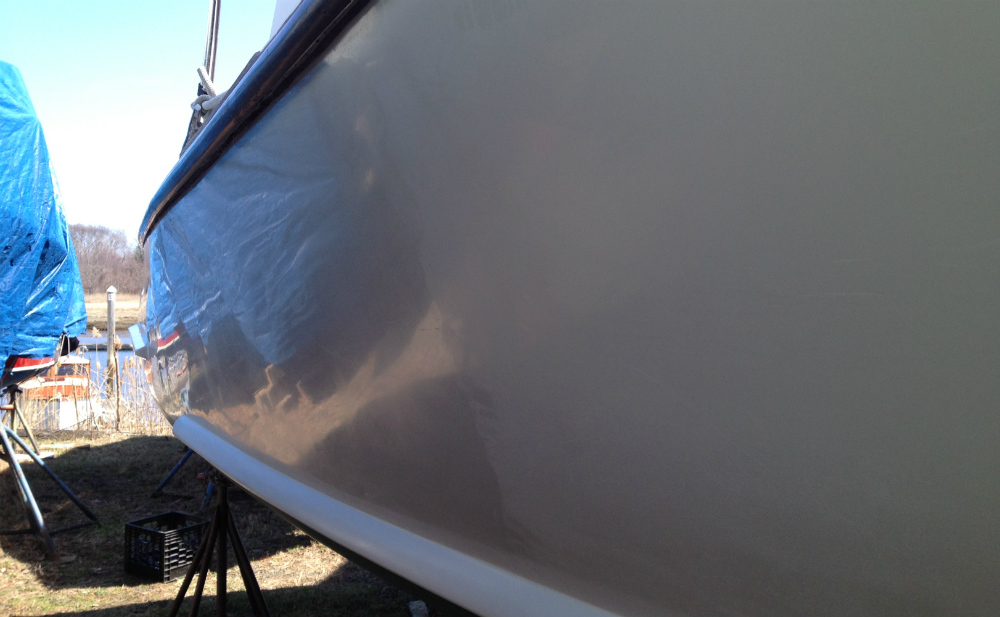
Washing, compounding, and paste-waxing can help preserve gelcoat for a long time. Compare the waxed surface on the left to the chalky one on the right. But eventually Mother Nature will take her toll. Photo by Doug Logan.
First and Foremost: Preparation
Some of these points are adapted from 10 Tips on How to Paint a Non-Skid Deck, but they apply to almost all painting projects on any boat—topsides, deck, and even the bottom:
1. Probably around 80 percent of the time spent during a boat painting project will be for preparation of the actual painting. For topsides and deck projects, this means the processes of draping and shielding, followed by taping, sanding, re-taping, dusting, filling, fairing, priming, more sanding, and more dusting. If the surface you’re working on is in good to excellent physical condition (separate from its shininess), there will be less of this prep work; if it’s suffering, there will be more. Any step you skip or effort you skimp on in the preparation stage will charge you double when it comes to the painting stage and finished look.
2. Pick the right environment. This means covering the boat under a shed or a shelter if at all possible. If it’s not possible, try to shield your work with tarps or plastic sheeting. Pick your weather to minimize the risk of rain, windborne dust and leaves, and boatyard debris. And try not to paint when there are flies or gnats around.
3. Paint at optimum times of day. If you’re outside, paint in mid to late morning after the dew has evaporated, and in mid-afternoon. Avoid noontime when the sun is overhead and at its hottest, and late afternoon, when evening cooling and moisture can affect drying time and finish.
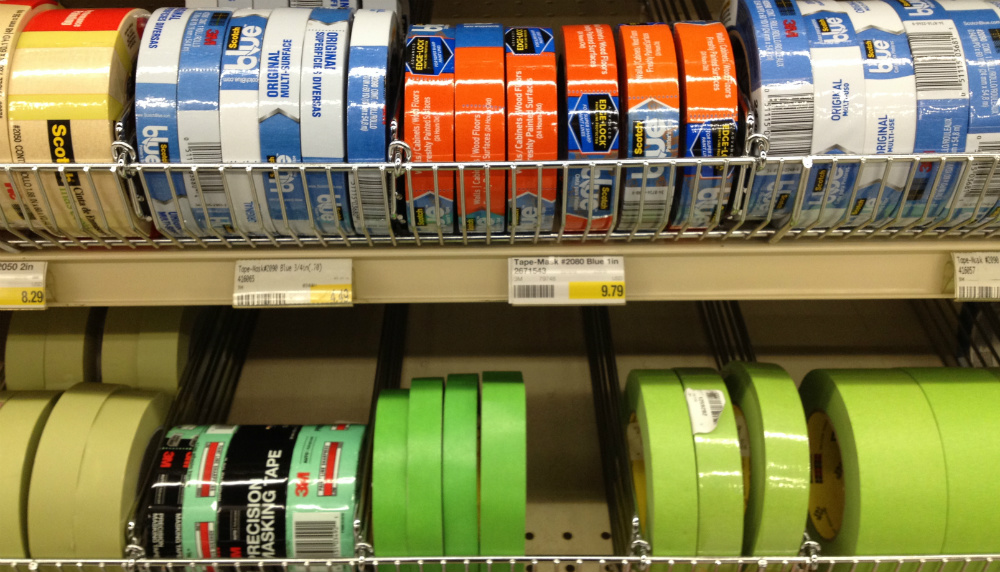
The choice of tapes alone can be bewildering—but this is not a time to pinch pennies with cheap brown masking tape.
4. Take your time with the tape. Masking off your job properly will make all the difference in the results. Most painters we know swear by 3M masking tapes, either the Fine Line tape or the less expensive ScotchBlue, both of which use natural rubber adhesive that helps prevent residue from sticking to the taped surface on removal. Make sure your surface is dry and free of grime, oils, and solvents before you tape, and carefully run your hand along every inch of the paint-facing tape edge before you start painting.
5. Read the manual. Really, no kidding, read the directions on the cans, on the labels, on the websites of the products you’re using—paints, solvents, and nonskid compounds. The people who make these things have thought carefully about how to use them best. They have a strong interest in making both your work and their products look good. If you think some of their directions are too persnickety to be worth following exactly, you may be right. But when they put something in bold or say IMPORTANT, you’ll benefit from knowing it.
6. Sand carefully. Random-orbital sanders equipped with vacuum attachments are good for large areas. Palm sanders are fine for smaller areas. To get in close to mounted hardware like cleats, chocks, and windlasses, a trim sander with a triangular mount will actually do a better job than hand-sanding. But there are always a few areas where nothing but old-fashioned elbow grease will do.
7. Let the sander and sandpaper do the work. Don’t bear down on the sander, just guide it with easy, even pressure. And don’t try too hard to conserve your sandpaper. Nothing cuts and removes material better than a new piece of sandpaper, even the old-fashioned aluminum oxide kind. When your sandpaper loads up or starts to lose its cutting power, just change it. Sandpaper is cheap and time is money.
8. Get rid of all the dust. This is easier said than done, especially if you’re working outside, but it’s a vital step—maybe not quite as important as when you’re laying on coats of varnish, but still important for any paint job. After sanding and vacuuming, take a heavy cloth like a bath towel and swat the surface to dislodge dust that might still be clinging. Then go over the surface with a clean cloth and a solvent or thinner that will pick up dust and then evaporate—mineral spirits, denatured alcohol, or acetone. Next use a commercial tack cloth to swipe up any remaining dust, turning the cloth often.
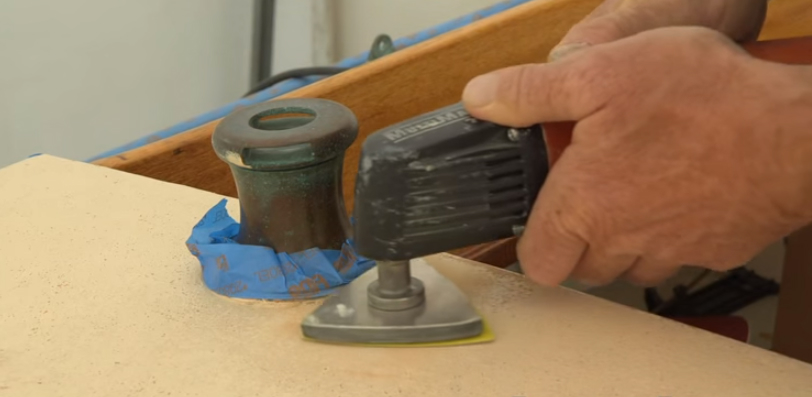
A trim sander will be able to get closer to deck-mounted hardware than a disc or random-orbital sander. Photo by Paul Cronin.
9. On topsides and deck projects, it’s important not to spread paint over such a large area that your first strokes begin to set before you can get back to them. This makes it impossible to get a wet overlap and in the end, a smooth, uniform look to the project. This is especially true in warm weather and under direct sunlight. If it’s hard to see the edges of the area you’re working on, mark the boundaries with moveable references. Anything can work—putty knives, tape measures, pens, whatever is handy—as long as you know where the overlap area is.
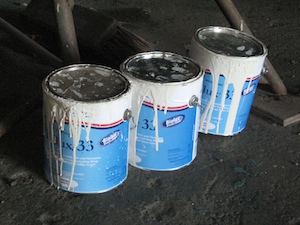
10. Never use paint straight from the original can. Use a smaller temporary container and pour out only enough paint to keep you busy before it starts to dry out. Keep stirring what you poured out, and keep the lid on your main paint can tight.
11. Pull your tape before the paint sets. The paint will set up hard, and you don’t want any of your tape underneath it after that happens. If you aren’t good with a razor blade you might even wreck some of that perfect line you worked so hard to achieve.
Painting the Topsides
No question, a boat’s topsides—the areas between the gunwales and the waterline—are your attention-getters, for better or worse. Bright, shiny topsides are a pleasure to behold, while faded, stained, chalky surfaces are a sad sight. But before you throw in the towel and decide to paint, see if the advice here can help bring back your gelcoat and extend its life a while longer:
- Getting Tough Stains Out of Gel Coat
- How to Restore Faded Gel Coat on a Boat
- 10 Tips to Keep Gel Coat Gleaming
If it’s time to paint, you’ll need to decide whether to pay the pros at the boatyard to do it or tackle it yourself. If you want to DIY, be aware that, as a general rule, two-part paints like Interlux Perfection are more durable than single-part paints, but can be harder to work with. They also require the use of high-quality cartridge-type respirators (not paper masks), plus eye protection, gloves, and full paint suits. The warning on the paint cans and safety sheets should not be ignored or taken lightly, as anyone who has worked with these coatings will confirm.
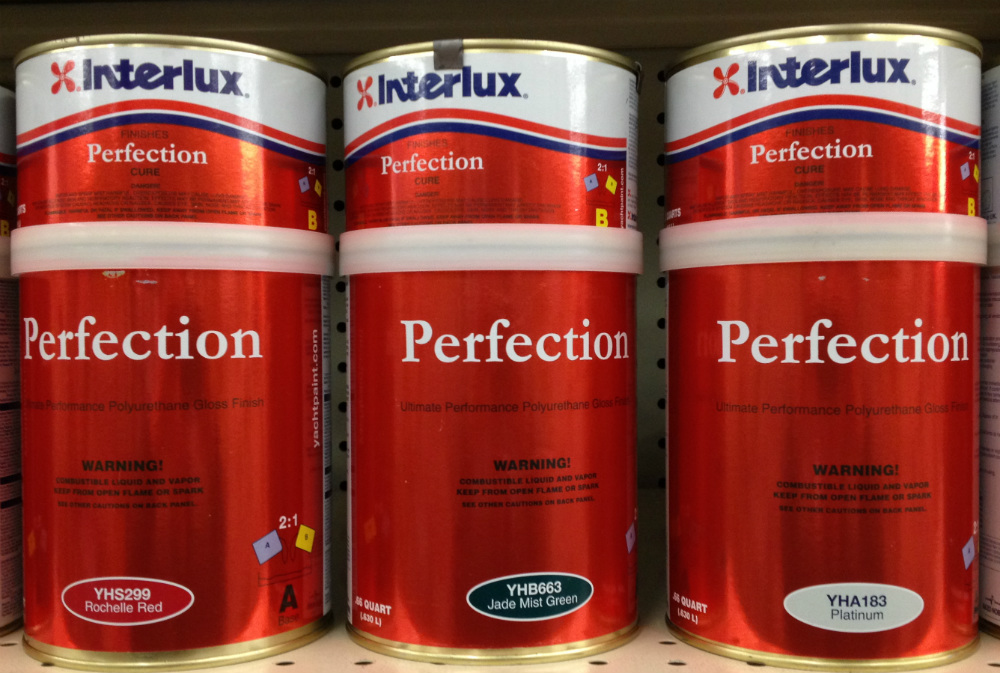
Two-part paints like Interlux Perfection can be trickier to work with than single-part paints, but tend to provide longer-lasting results.
Single-part polyurethane/enamel paints like Interlux Brightside or Pettit Easypoxy are, as the name suggests, not as difficult to work with and are less expensive. They are remarkably tough and durable, but in general shouldn’t be expected to shine as long as two-part systems.
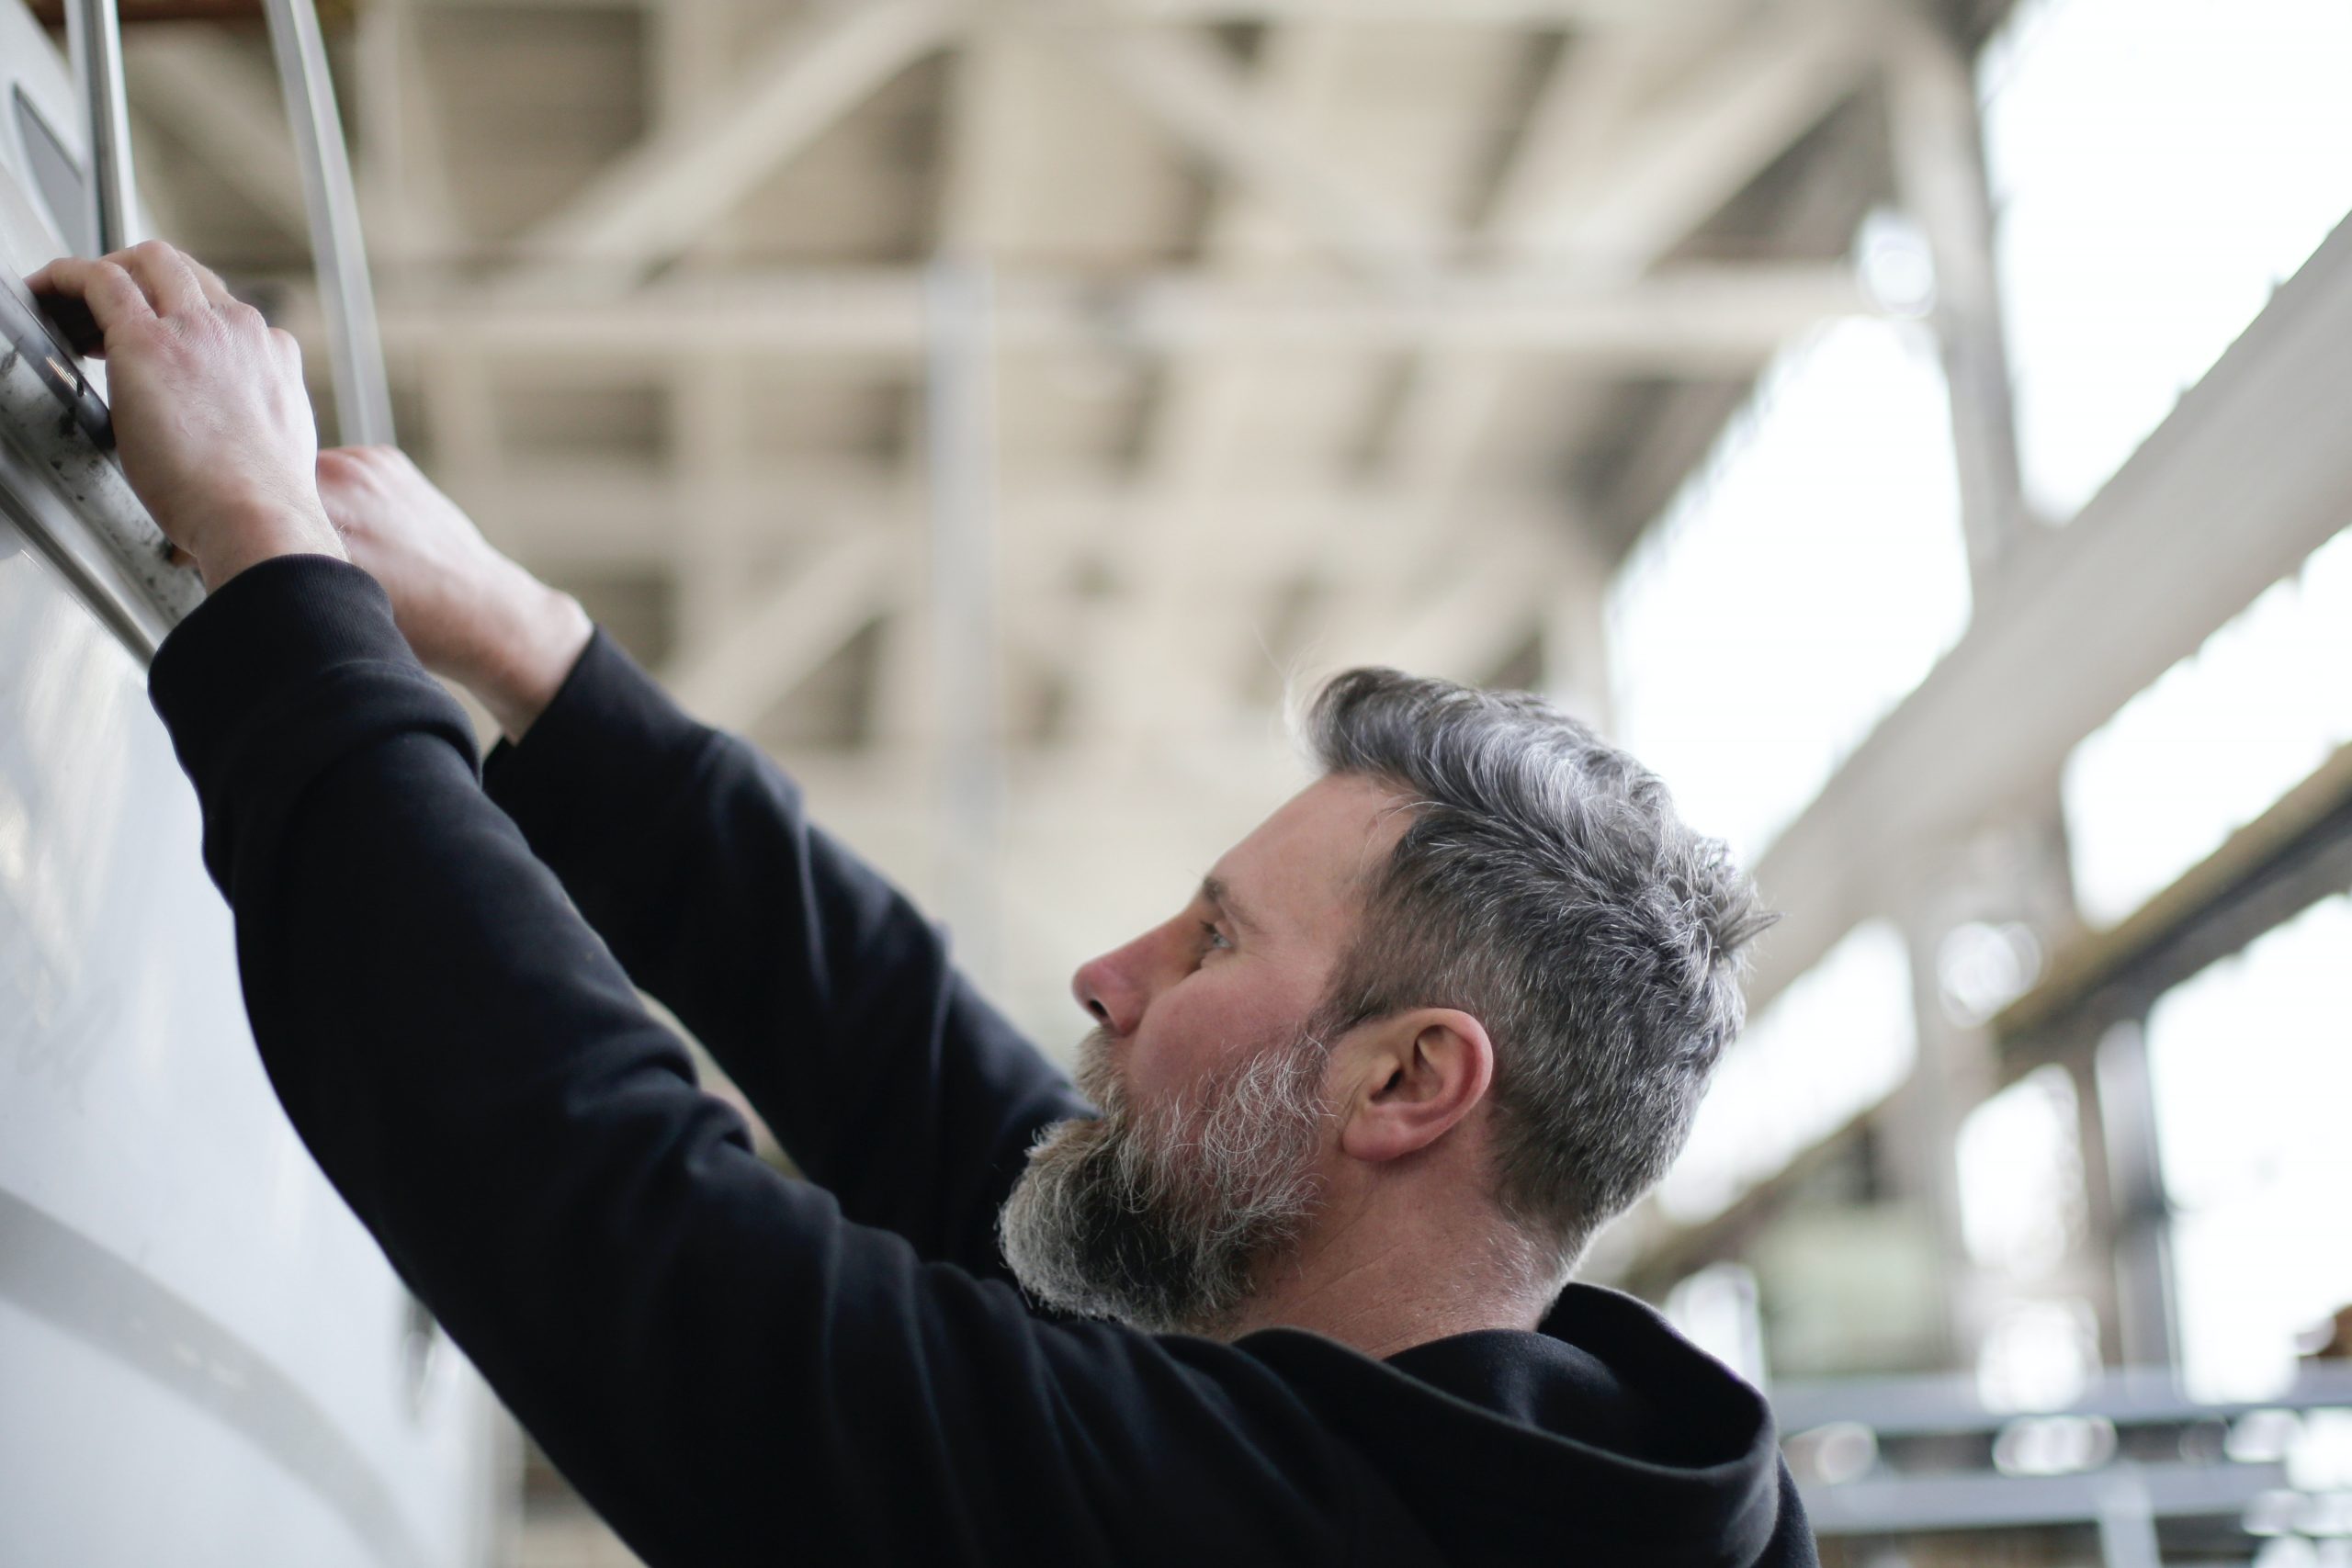
Whether you use a two-part or one-part paint, your preparation work on the topsides will require the use of solvents, sanders, rubbing compounds, and primers in some combination to get the surface ready. The less you expose yourself to dust and chemicals during this process, the better. Especially avoid breathing in sander dust and fumes from solvents and thinners. Remember that toxins can be absorbed by the skin, too. Keep yourself covered.
While it’s often possible to substitute brands of paint thinner or mineral spirits, if you’re not sure, be on the safe side and use the product recommended by the paint maker. The same goes for primers.
If you have to remove a vinyl name and lettering, you can (carefully) use a heat gun or hair dryer and a razor blade, followed by lacquer thinner or Anti-Bond spray. Or try the 3M Stripe-Off Wheel. For a painted-on name, a dedicated stripper like Interlux Interstrip 299E will work. Some marine pros use Easy Off Heavy-Duty Oven Cleaner. Anti-Bond is excellent for dealing with old, hard-to-remove adhesive.
If you’re not already adept with paint sprayers, the topsides of your boat won’t be a good place to learn the necessary skills. Also, boatyards almost always prohibit the use of sprayers by boat owners, especially in outside areas, for obvious reasons: If you’re a fellow owner in the yard it can be bad enough being downwind of a sloppy sander on a weekend, much less someone launching clouds of paint into the air.
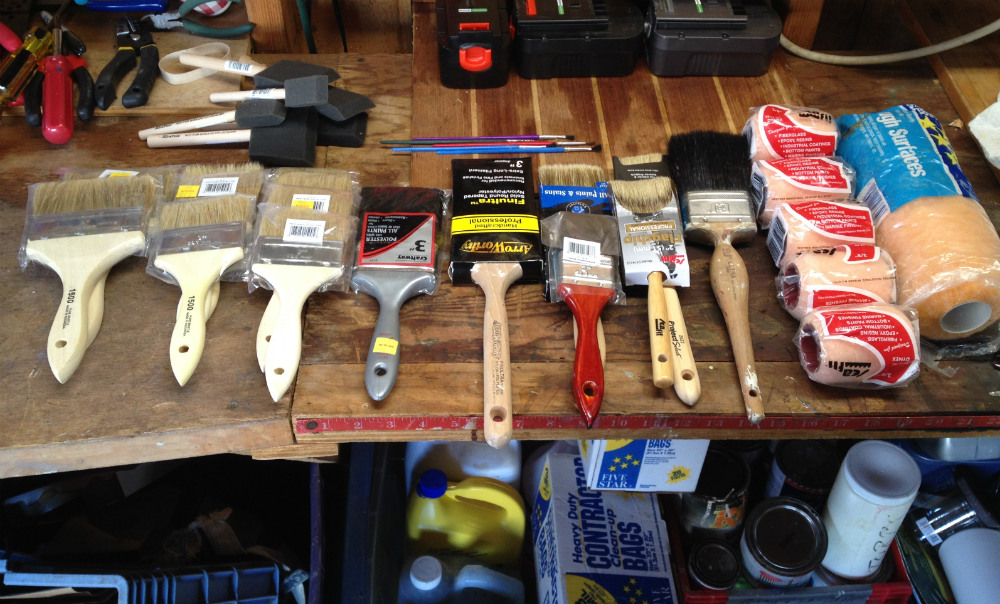
DIY boat painters keep a wide assortment of brushes and rollers handy. Depending on the job to be done they can be cheap and disposable or expensive and worth coddling. Photo by Doug Logan.
For boats larger than dinghy or skiff size, the best application method for most owners will be to recruit a spouse or a friend and go with a combination of roller and brush: One person rolls on the paint and the other follows with a brush, “tipping off” the paint, which just means smoothing down the strippling left by the roller nap and blending the edges of the tracks. Pros tend to roll up and down and tip fore and aft. Use a very good fine-bristle brush for the tipping and take care of it between coats. If you’re working alone, use a brush, not a roller. Again, lay the paint on up and down and smooth it fore and aft.
A note on foam brushes: Sometimes the good ones, meaning those made of denser foam, can be better than good bristle brushes for certain paint and varnish jobs where the coating is thin and fast-spreading. But a foam brush won't stand up to heavier paint for long and will begin to fold over after it's been loaded a few times. Test the foam brush before committing to it. When in doubt, use a bristle brush.
Once you have all your gear and your methods organized and you get going, try to work at a good pace to keep a “wet edge” between strokes and covered areas, which helps keep the look smooth and uniform. Unless you’ve left an obvious holiday, resist the temptation to backtrack.
No matter what type or brand of paint you use, you’ll need to remove all dirt, dust, and—most important—wax from the boat. This means a thorough washing and drying and then the use of a de-waxing solvent. Acetone is effective, or you can go with a dedicated marine de-waxer like Awlprep Plus or Interlux Fiberglass Surface Prep. Then sand and wipe down again. Be very careful to do a thorough job here, because any remaining wax will compromise your paint job. And remember your respirator and gloves when working with solvents.
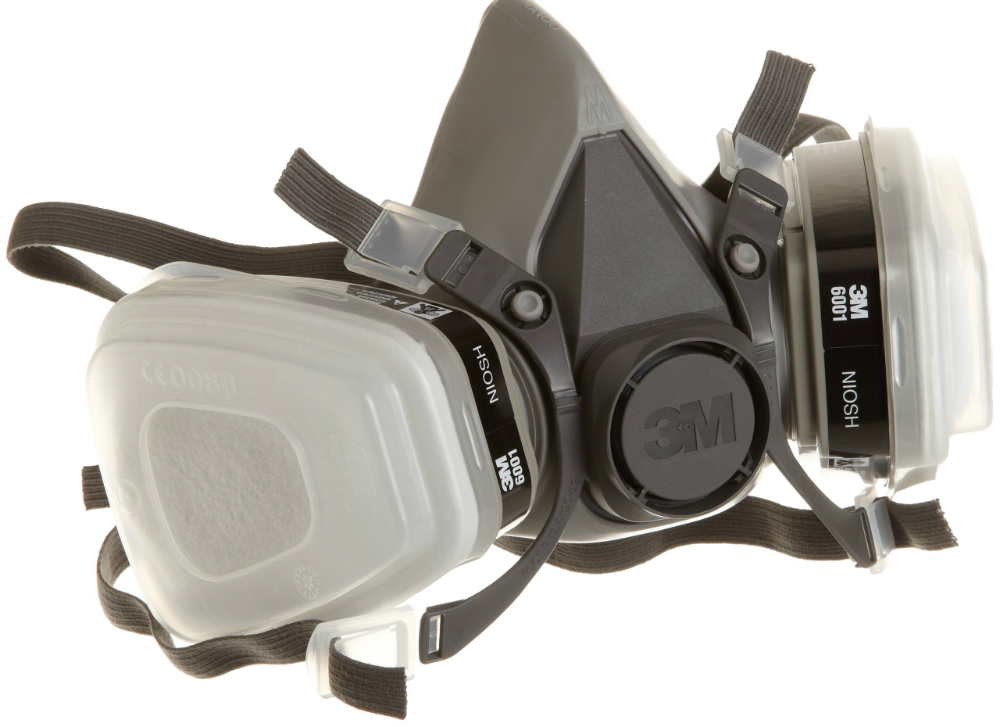
Use a high-quality cartridge respirator—not just a paper mask—plus eye protection, gloves, and full paint suit when working with old paint dust, thinners, solvents, or two-part paints.
Now it’s time to fill any dings and gouges in your topsides with the recommended filling and fairing compound. For small repairs both above and below the waterline, most pros recommend a two-part epoxy filler. Let the repairs dry, then sand the whole surface smooth. If your topsides are in poor condition you might want to use an aggressive 100-grit sandpaper, then sand again with 150-grit. Vacuum up the dust, flog the topsides with towels, vacuum again, then wipe everything down with solvent on rags or a tack cloth to pick up any remaining dust.
With a faired and smooth hull you can lay on the recommended coats of primer or topcoat, sanding between coats with a fine sandpaper (320- to 400-grit) and getting some practice with the roll-and-tip method. Finally, after all that prep work, you can grab your painting partner, open up the cans of the good stuff, and get going on the final laps of the topsides—the 20 percent of your work that gives you 99 percent of the satisfaction—laying on that facelift that will make your boat turn heads at the dock and on the water. For more detail, watch these two videos on preparing and painting the topside. The boat shown is made of wood, but the principles remain the same for fiberglass.
Painting the Deck
Fiberglass decks tend to take less abuse from chafing, dings, and glare than topsides, but they’re still subject to UV degradation, the effects of freezing and thawing, and the stress of deck fittings like cleats and stanchions. Fiberglass crazing is common in the decks of older boats, and most importantly wear and tear can eventually wreck the molded or painted non-skid surfaces needed for sure footing.
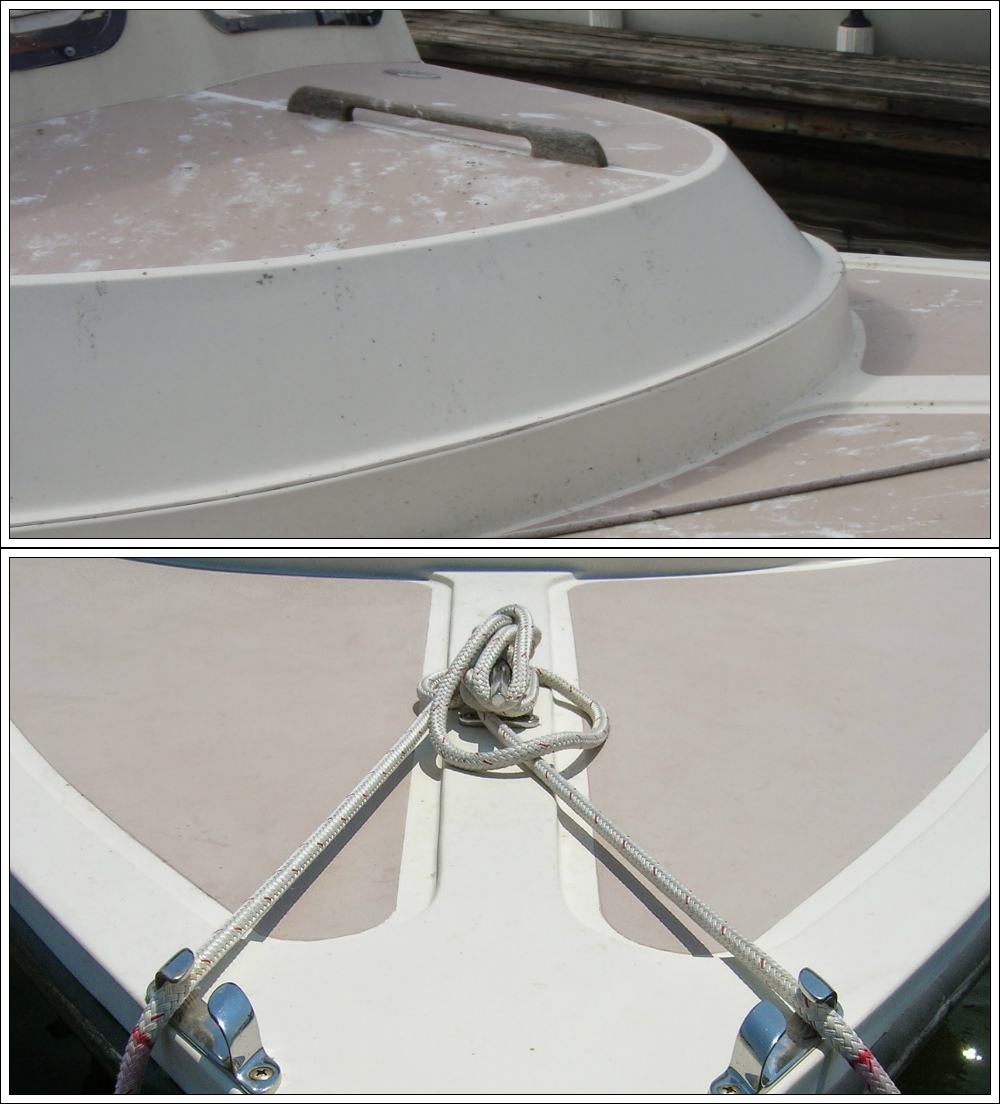
Above: The molded-in foredeck nonskid on this boat was worn down over the years and damaged by acid from bird droppings. Below: The nonskid areas were taped off and painted with single-part Pettit Easypoxy polyurethane paint mixed with Interlux nonskid compound. Photo by Doug Logan.
With on deck-painting projects the most important step will be to carefully tape off hardware, handrails, hatches, etc. It would be ideal to remove these things before painting, but in many cases it’s impossible or impractical. For crazing and gouges, the same processes of sanding, filling, and fairing apply as they do in topsides projects. As for non-skid surfaces that were molded at the factory, there’s no way to bring them back; the only solution is either to stick on an entirely new surface like Treadmaster, or paint the areas using the same type of paint discussed in the section above on topsides, but laced with a nonskid compound that will dry in place with the paint. You can get paint with nonskid material already mixed in, like Interlux InterDeck or Pettit EZDecks, or you can buy your paint and nonskid compound separately and mix them yourself according to how aggressive you want your surfaces to be. Done correctly, a paint job with nonskid compound will provide better footing than the original molded nonskid and will look neat and uniform to boot.
Painting the Bottom
Even though your boat bottom lives only a bootstripe away from the topsides, it exists in a completely different world—a world in which paint is generally meant to be sacrificed, not preserved. The majority of bottom paints—and there are dozens of them on the market—still contain copper (in the form of cuprous oxide), the active ingredient in warding off barnacles and other marine growth. The paints are classified as hard at one end of the scale and soft at the other, depending on the composition of the paint holding the copper. Soft paints are more actively “ablative”; they leach or slough off their copper into the surrounding water faster than hard bottom paints. For more on the types available, and the boats and boating purposes they’re best suited for, see Bottom Paint Basics.

There are dozens of bottom paints on the market, most still with copper as the active ingredient. But as copper comes under increasing pressure as a biocide, new non-copper-based paints like Pettit's Ultima ECO and zinc omadine-based ePaints are coming to the forefront.
Because concentrations of copper in the water can be high enough in harbors and marinas to be damaging to the whole surrounding environment, copper paints are now prohibited in some areas. It’s a safe bet that copper paint will eventually be phased out or banned, as was tributyltin-based paint (TBT), as alternatives improve. There are already some excellent alternatives like Coppercoat, in which an epoxy matrix holds fine copper powder that protects the hull but doesn’t leach into the surrounding water, and ePaint, which uses more benign antifouling agents like hydrogen peroxide and zinc omadine. Industry powerhouse Pettit recently released Eco versions of their Hydrocoat and Ultima antifouling paints, using zinc omadine and a proprietary biocide called Econea (™) to ward off barnacles and other hard growth. If you’re new to the game and your boat is new too, your choice will have to be based on whether you’re going to use your boat in salt or fresh water (see Bottom Paint for Freshwater Boats); whether the boat will live most of the time at a dock or mooring, or on a trailer; how often you plan to use it; whether an ultra-smooth bottom is important to you; and whether there are any local requirements or prohibitions you need to pay attention to. If you’re buying a used boat, the same considerations will apply. You might be able to re-coat the bottom with the same type of paint that’s already on there if it’s in good condition. (Covering hard copper paint with a softer ablative paint can work if the hard paint is in excellent condition, but trying to cover an ablative paint with a hard paint is asking for trouble. Refer to this chart for more information.)
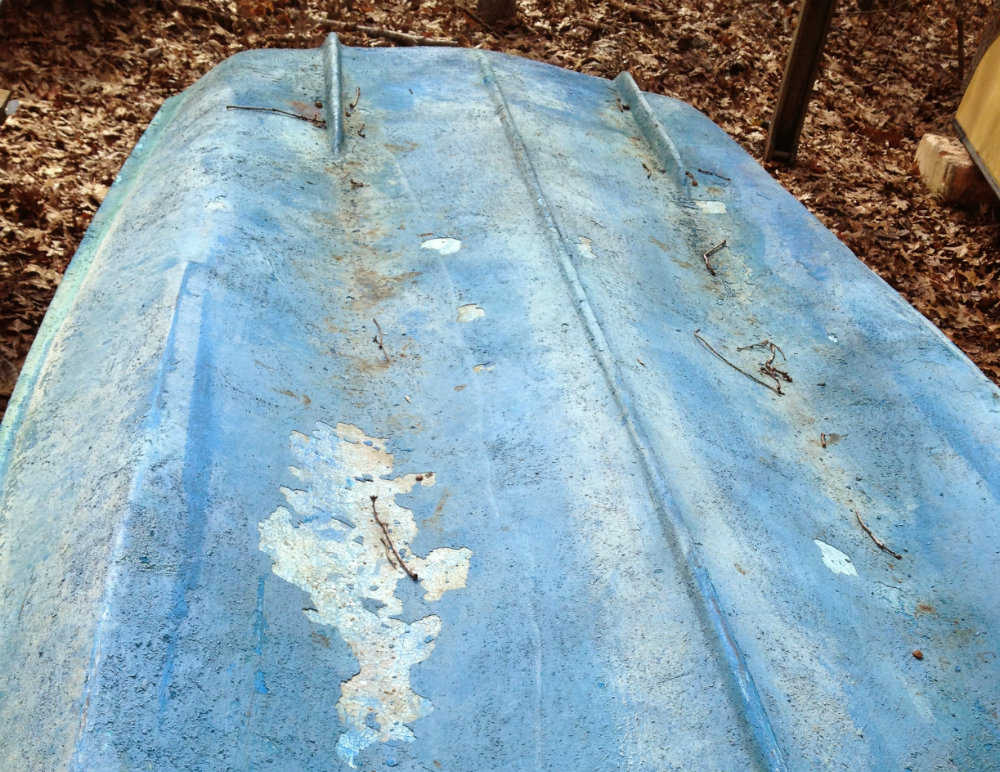
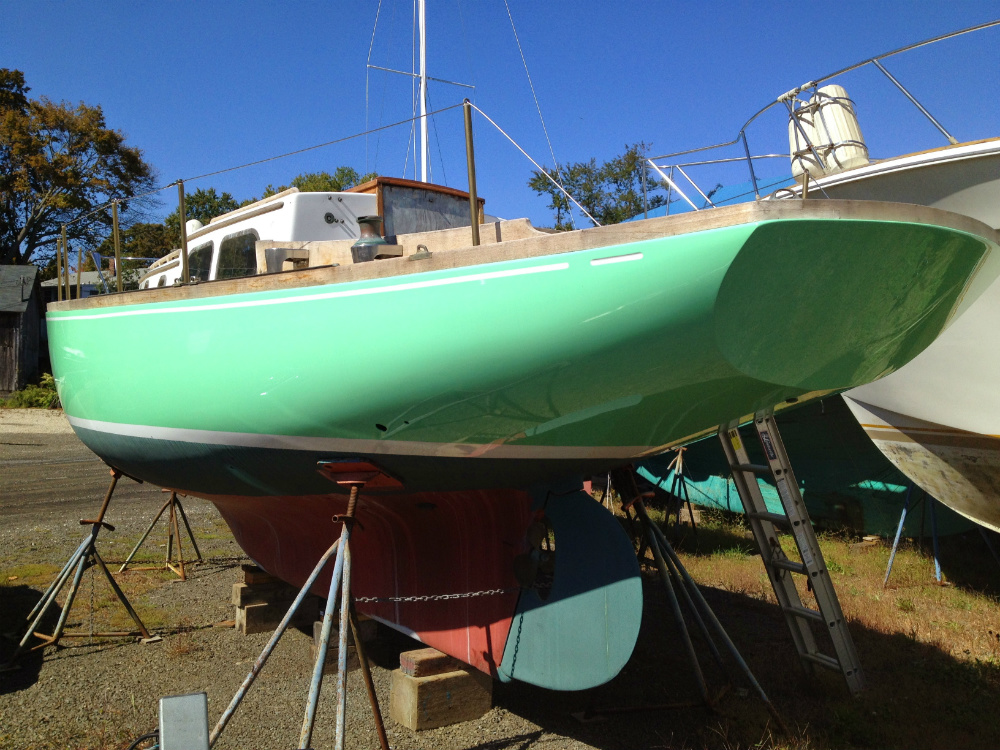
The bottom paint on this old Boston Whaler has to be completely stripped off, either by professional soda- or shell-blasting, or with a chemical stripper and putty knife. The first way is expensive, the second way tedious. Photo by Doug Logan.
In some cases, though, especially if the bottom paint is falling off in flakes or patches, or it's the wrong kind of paint for your waters, the best approach will simply be to strip the bottom and start over. It's an unpleasant necessity (see Bottom Stripping Basics), but at least it gives you the chance for a new beginning with a fair, smooth bottom. You can also take the opportunity to lay on an epoxy barrier coat before painting. This will help prevent water osmosis over the long haul, especially if your hull was laid up with polyester instead of vinylester resin. Or you could use Coppercoat, which is already epoxy-based and, although expensive, lasts for years with no maintenance.
When using a multi-season ablative paint, many pros will apply either two or three coats, with the bottom coat a different color from the upper coat(s) to show through as an indicator of when the paint is getting thin. The more time your boat spends in the water (as opposed to on a trailer, a lift, or a rack) the more important your antifouling paint will be. In high-fouling saltwater areas, you may have to go in the water or hire a diver to clean the bottom once or twice during the season.
Don’t paint over any transducer fittings under the waterline, and never use a copper-based antifouling paint directly on underwater metal parts or outdrives made of aluminum, steel, or bronze. These parts need to be cleaned, primed, and painted with special metal paints like Interlux Trilux. Propellers can be sprayed with zinc-based antifoulants like Pettit Prop Coat. See Repainting My Inboard-Outboard Drive: How do I Protect the Aluminum for more information specific to drive units.
Time to Shine
There are dozens and dozens of products in the world of boat paints and their support supplies—too many, for sure, like the number of cereals in the supermarket aisles. There’s overlap of purpose, and yes, some of the products are redundant and even unnecessary in some cases. However, as we said in the Preparation tips above, the paint makers have a strong interest in making your work—and their products—look great and last a long time. So you won’t go wrong by simply picking a color and style of paint from whatever manufacturer you choose, then following their instructions to the letter and using the products specified. Just remember two things: First, most of the important work happens before the painting starts. Second, don’t ignore safety warnings. Keep yourself and your surroundings in good shape. Happy painting!
Editor's Note: This article originally published May 2016, updated in March 2018, March 2020 and April 2021.