12-Step Pre-Season Boat Preparation
Twelve simple steps to get your boat ready for summer
The temptation is strong to simply wing it, to pull your watercraft out of storage, drive to the water and hope for the best. This is especially true after a long winter like most of us have experienced before.
But as with most things, immediate gratification has its price. That's especially true when it comes to preparing your watercraft for the upcoming season. The temptation to simply head to the water and go may be great, but giving in usually leads to breakdowns and long slow rides being towed into the beach. In some cases, it can also mean large repair bills.
The irony is it doesn't take a whole lot of time and effort to get your watercraft into shape for the season. In fact, it should take less than an hour to get your craft properly prepared, provided you took the time in the fall to properly winterize it. If you didn't, well, you may want to give yourself a little extra time.
In either case, it's certainly worth the wait.
Step 1: The Thaw
The first thing you need to do is make sure your watercraft is properly thawed. Now, that may sound like a joke, but it is important not to get overanxious. You need to make sure the fuel and cooling lines are soft and pliable enough to prevent any cracks or leaks. Don't be fooled by an early thaw either. You'll be running water through your engine later on, so it's important that spring truly has arrived. Otherwise, you run into the danger of freezing water inside your engine, which could lead to cracked lines or leaks.
Step 2: The Unveiling
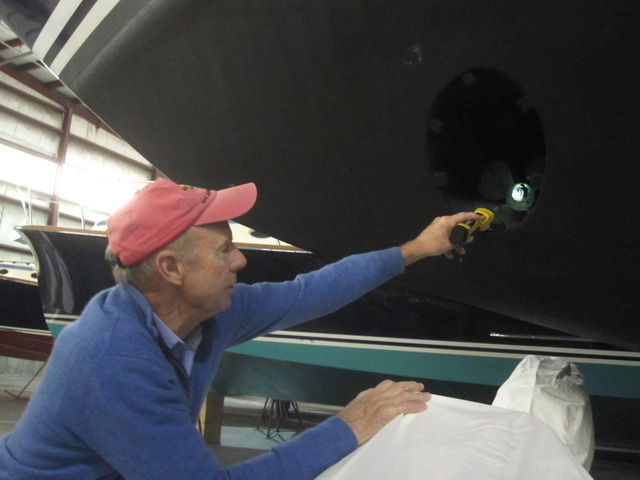
Next, pull your watercraft out of the corner of the garage or shed into a well-lighted and well-ventilated area. If you've picked a bright, sunny spring day, the driveway is best. If it's raining, the garage will do, but it's a good idea to leave a window or door open to make sure any fumes dissipate properly.
Once you uncover your craft, remove the engine cover and give the craft a good visual once-over, checking for any cracks in the hull or obvious problems in the engine compartment. Also, make sure to pull out any rags or coverings you used to block up exhaust and engine outlets during the winterization process.
Here's another thing to keep in mind. We know of an enthusiast who couldn't get his watercraft to run properly one spring and eventually had to ship it off to a performance shop. After taking apart the engine, the shop found the remains of a mouse who had apparently crawled into the exhaust outlet during the cold winter months. Remember, your watercraft probably looked pretty cozy during the winter to mice or other small animals, so make sure you check for any unwanted bodies before you start the engine.
Use this time to clean out the engine compartment of the dust, grime and spider webs that accumulate over the winter.
Step 3: The Battery
Again, this will be made easier if you removed the battery in the fall and maintained the charge at least once a month. If you did, probably all you'll need to do is give it a quick check and top off the water levels in the cells (if required), using only distilled water. It's also a good idea to grease the terminals and remove any residue. To clean the battery, use a mixture of baking soda and water.
If you left the battery in your watercraft over the winter, remove it and give it a good charge. Also, take a little more time making sure the terminals and connections are clean and in working order.
Step 4: Hoses and Cables
If any damage occurred from freezing, it is going to be most apparent on hoses and cables, so go over those thoroughly. Make sure none of the rubber or plastic hoses have cracked or hardened and inspect their connections, making sure they're tight.
Once you've checked the hoses, turn your attention to the steering and throttle cables, making sure there aren't any kinks or loose connections. Turn the handlebars and make sure the steering nozzle turns easily and properly. Squeeze the throttle and make sure it is working. If the operation is stiff on either, they may need lubing. Most dealers offer a tool called a cable luber, which forces lubricant between the inner and outer cables. (If you don't want to invest in the tool yourself, you should probably have your dealer lubricate the cables at least once a year, either in the fall or in the spring. It can save a lot of headaches down the road and prolong the life of your cables.)
Step 5: Grease the Fittings
Check with your owner's manual to find out all the fittings that need to be greased, and then using a grease gun, pump grease into them you feel a slight resistance. Be careful not to force the grease or you could damage the seals.
Step 6: Tighten Up
After you've checked all the hoses and cables and greased all the fittings, pull out your wrench set and screwdrivers and check all the bolts and screws, tightening any which seem loose. This includes nuts and bolts outside the engine compartment, like those in back on the steering nozzle.
Step 7: Check the Plugs
You may have replaced your spark plugs during winterization. If you didn't, you may want to hold off until you've had a chance to burn through a tank of gas, especially if you added an ounce of oil to the cylinders during the fall. In either case, take the spark plugs out and inspect them, making sure the electrodes are clean and properly gapped. If there is gunk on the electrode, use a spark plug cleaning kit to remove any excess oil or residue. Also inspect the cables thoroughly, looking for any cracks or frayed wires.
After your first ride, pull the plugs out again. This is a good time to put in a new set because most of the excess oil should be burned off.
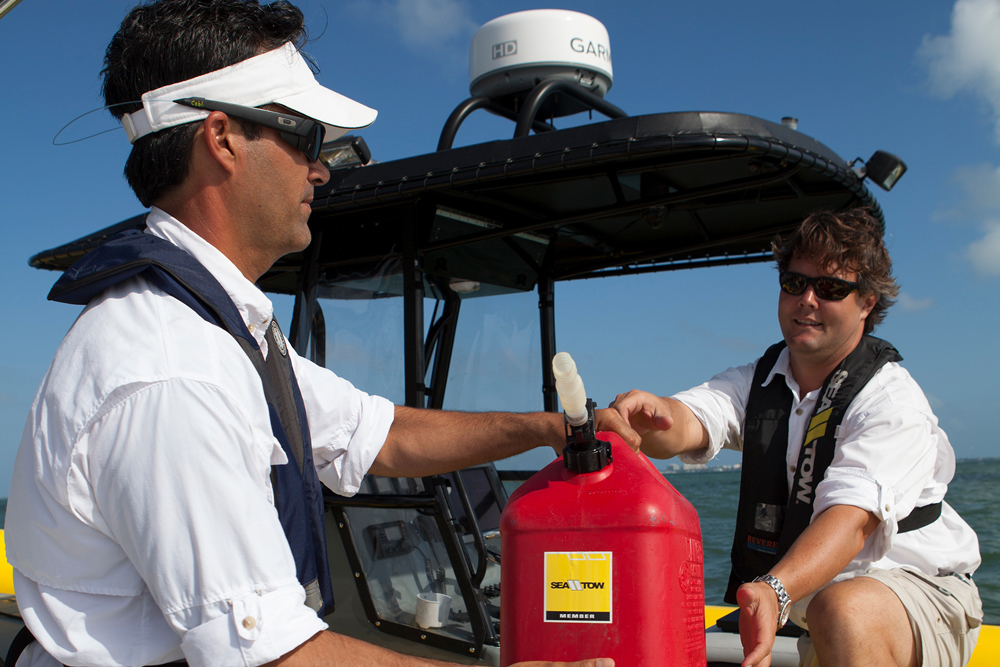
Step 8: Check your Fuel and Oil
Hopefully, you topped off your tank and added fuel stabilizer before you put your boat away for the winter. If you did, you shouldn't have any problems this spring.
If you didn't, it's probably best to simply start from scratch, removing any leftover fuel and disposing of it properly. This is because fuel can break down after prolonged periods of storage. Condensation is also a problem, especially when there has been wide fluctuations in temperatures, and this can leave water in your tank, which is disastrous for your engine. Check your owner's manual for the best way to drain the gas tank on your particular model.
Oil is more stable than gas, though it can break down as well, so if there is any leftover, it's probably a good idea to drain the tank and then top off the tank with a fresh batch. Better safe than sorry.
Step 9: Give it a Flush
Technically, this step is optional, but we'd strongly suggest attaching a flush kit if you're craft doesn't already have one. Not only does it help prep your craft, it's also a valuable tool for regular maintenance.
Once installed, start the craft first and then turn on the water to prevent water from backing up into the exhaust and engine. In the same vein, shut off the water before you shut off the engine.
Flush the engine for at least five minutes, varying the flow of water by varying the throttle. While you're doing this, listen carefully to the engine for any excess vibration or strange noises.
Don't be alarmed if there seems to be excess smoke coming from the exhaust area. This is the excess oil burning off.
If you don't have a flush kit on your craft, you can still do this pre-ride check, but remember not to leave your engine running longer than 15 seconds. If you feel you need more time to check it out, let it cool down at least five minutes and then re-start it.
Keep this in mind even when you do have a flush kit. You'll want to start the boat after you've finished flushing to force any excess water out of the system. This is particularly important if you're not headed straight for the water.
Step 10: Check the Bilge
While you've got the hose out, make sure your craft's bilge is free from obstructions. Locate the breather fitting and disconnect the two hoses from one another. Then flush each line for about a minute. Your engine compartment will fill up slight during this procedure, so remove the drain plugs and turn on the electric bilge pump if you have one. If not, you can wait for the excess water to drain out the back or you can bail out the water manually, using a sponge for those last drops. Remember to re-attach the drain plugs when you're finished.
Step 11: Check your Gear
Before you head out to the water, make sure the rest of your gear is in working order. Make sure the lanyard attachments aren't frayed. Look over your wetsuit and PFD, checking for signs of excess wear and tear. Give your trailer the once over, greasing the wheels and making certain the lights are in working order. Also, check the hitch and the condition of the bunks.
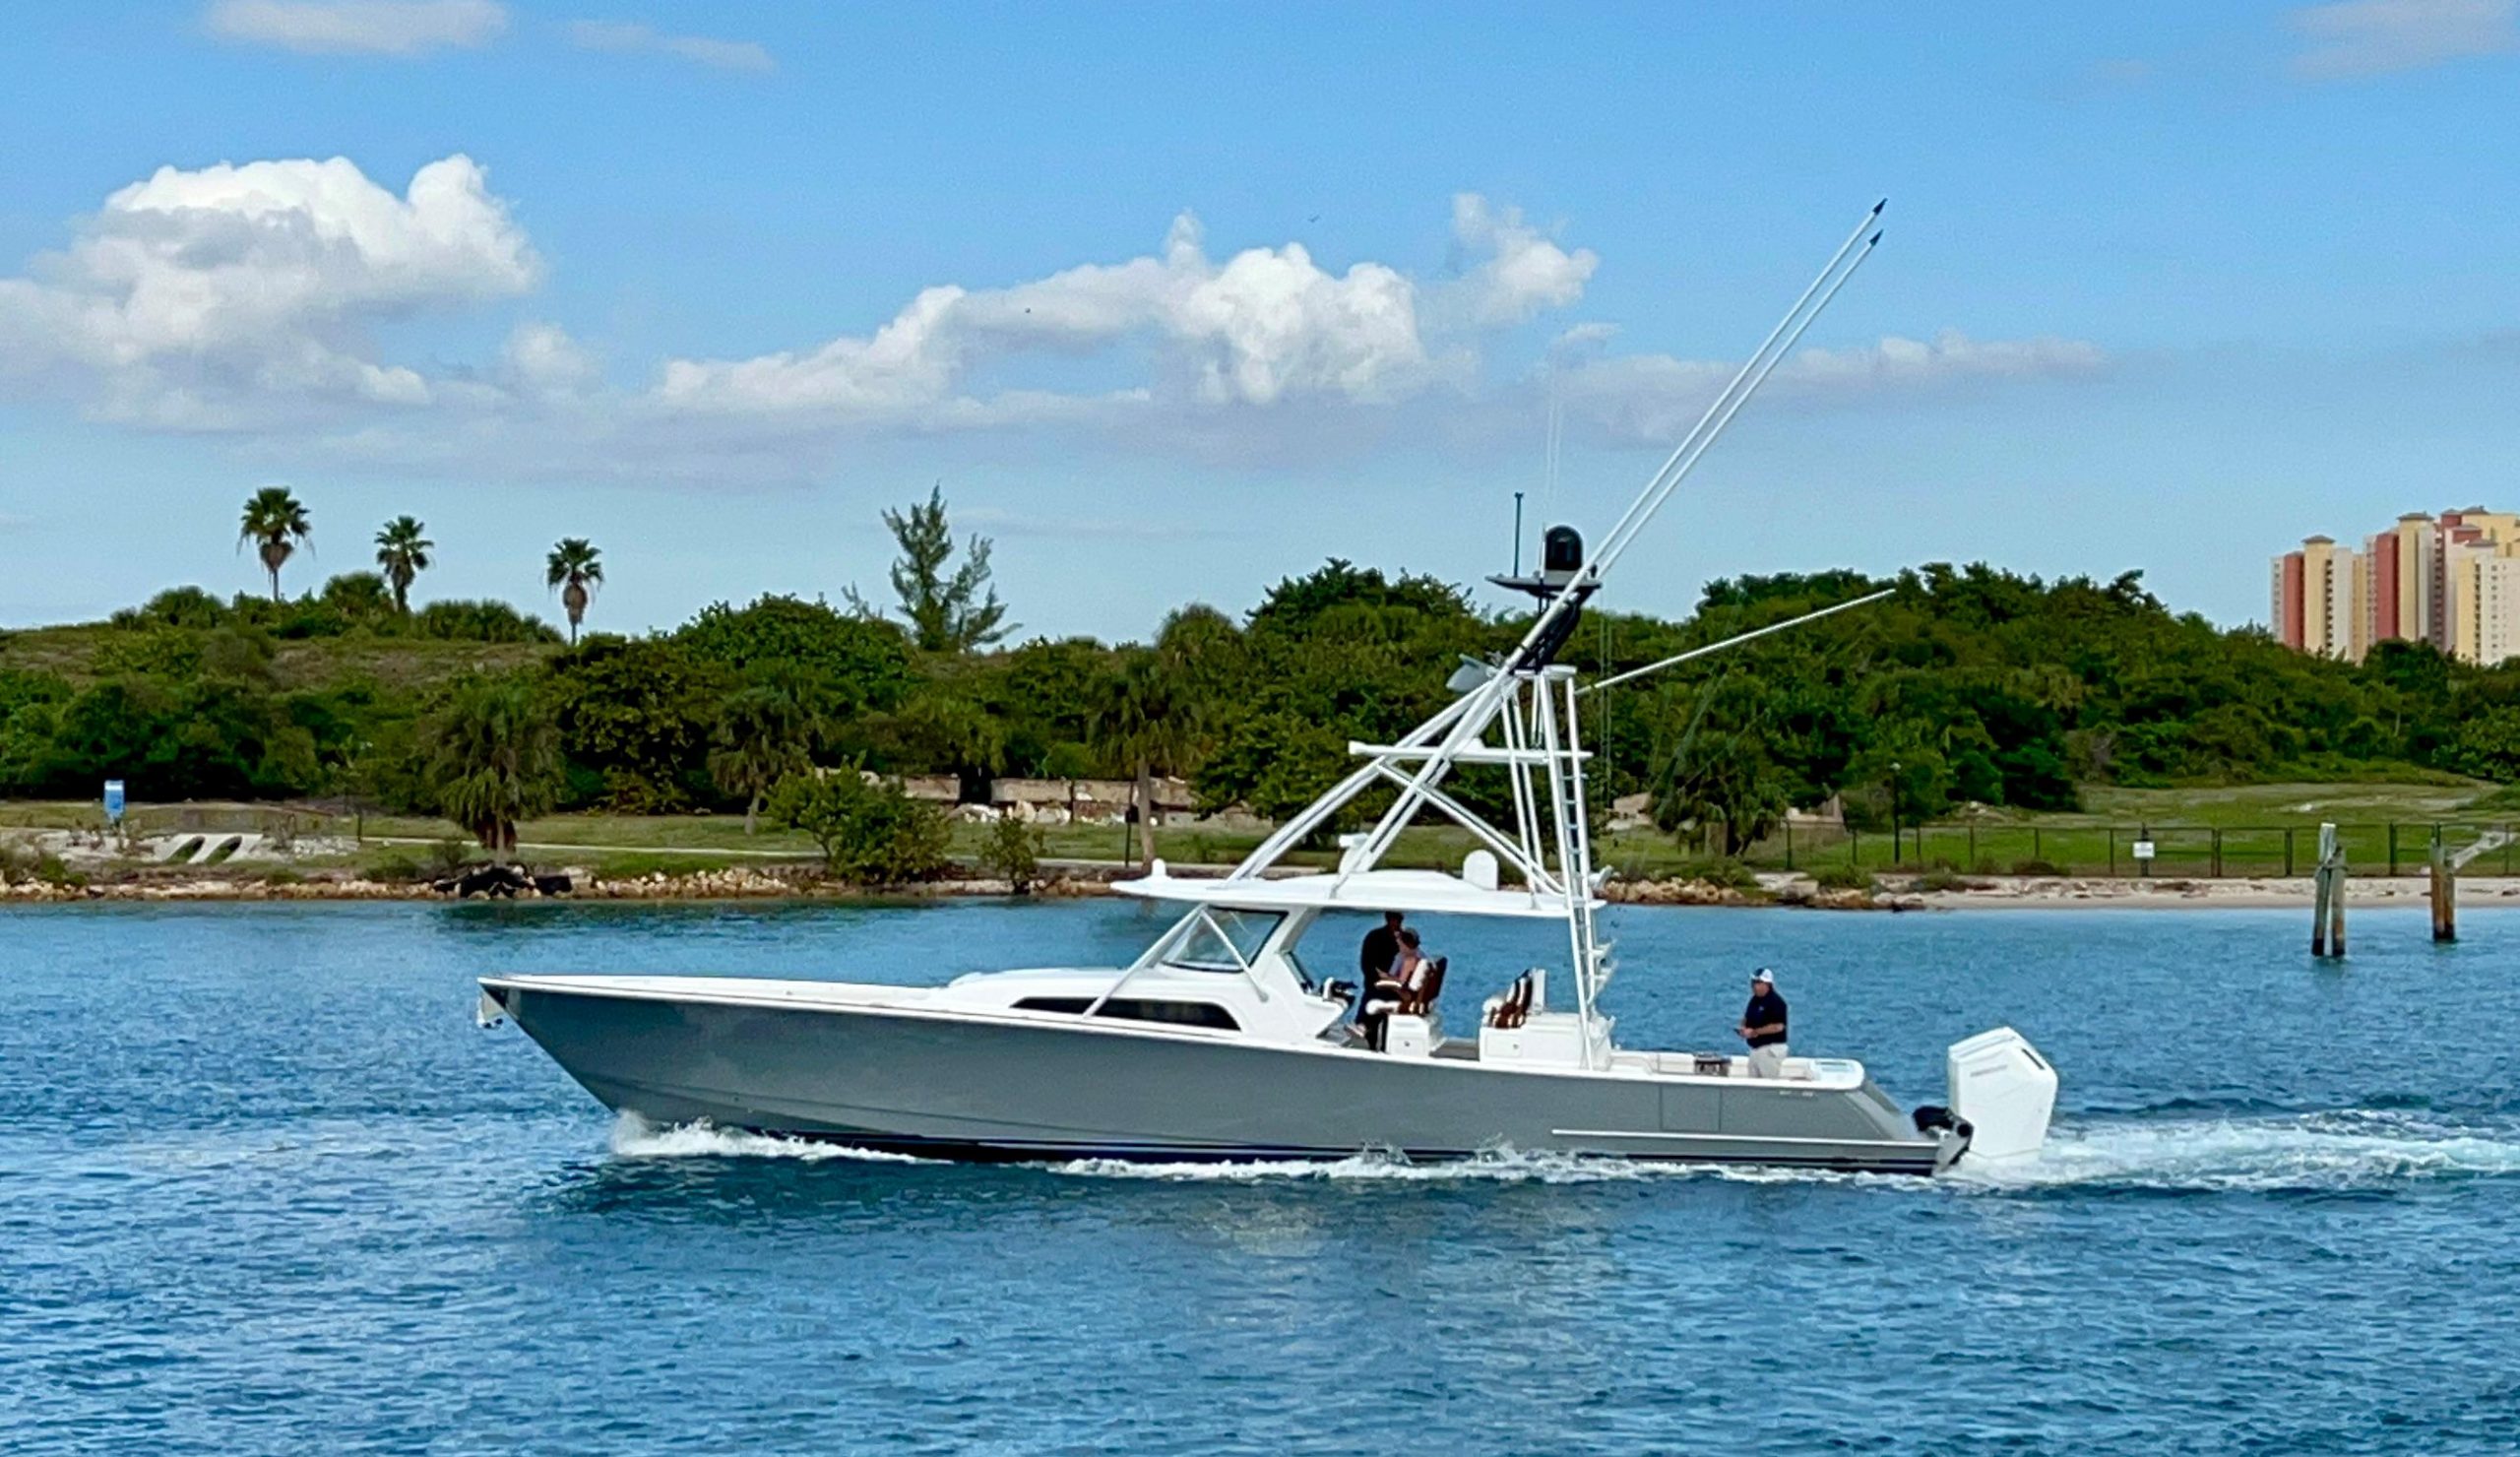
Step 12: Hit the Water
Finally. The wait is over. But before you get too carried away and start planning a 50 mile jaunt the first time out, it's a good idea to make your first run relatively short and sweet. Keep it close to shore, too. Make a number of passes, paying close attention to the operation of your craft. After five or ten minutes, head back to shore and then check the engine compartment to make sure there aren't any leaks you missed and that all the connections remain in place.
If this final inspection checks out, then you're ready to go.
Editor's Note: This article was originally published in August 2000 and updated in March 2020.